

June probably isn’t the month most growers associate with harvesting cannabis, however for those who planted early autos, or are running fast-flowering genetics outdoors, it’s go-time. If you played your cards right back in March or April, you could be pulling down your first crop just as others are still prepping soil.
Knowing when and how to harvest makes all the difference between a top-shelf stash and a disappointing jar of hay. If you’re not careful, all that time spent germinating, feeding, and defoliating can be undone in a single sloppy afternoon.
Let’s walk through what harvesting in June really looks like—especially if you’re running autoflowers or fast-finishing feminised strains—and how to maximise the payoff after months of effort.
Why June Harvests Happen (and Why They Matter)
In the cannabis world, outdoor harvests usually fall in September or October. That’s when most feminised photoperiod strains finish their flowering cycle, after long vegetative growth in the summer months.
But autos have their own schedule.
If You Planted Autos in March or April…
You’re likely staring down frosty, swollen buds right now. Autoflowers like Black Orchid Auto and Purple Haze Autotake roughly 9 to 11 weeks from seed to harvest. So if you dropped seeds in early spring, late June is harvest season.
And with proper planning, a June harvest opens up space for a second run before the end of summer. This is the power of outdoor autos: speed, flexibility, and efficiency.
How to Tell When Your Cannabis Is Ready to Harvest
This is where many growers—especially first-timers—get it wrong. You can’t rely on calendars alone. Instead, use your eyes, your hands, and ideally a loupe or microscope to inspect the plant itself.
1. Trichomes
- Under magnification, trichomes (those tiny resinous glands) change color as the plant matures.
- Clear trichomes = not ready.
- Cloudy/milky trichomes = peak THC.
- Amber trichomes = more CBN, heavier body effects, slightly degraded THC.
Aim for mostly cloudy with some amber for a strong, well-rounded high.
2. Pistils
- The little white hairs on your buds will darken and curl inward as maturity nears.
- When 70–90% of pistils have turned orange or brown, your plant is close to or at peak harvest time.
3. Bud Structure and Aroma
- Buds should be dense and firm to the touch—not airy or immature.
- The smell will shift from a green plant aroma to something much more rich, loud, and resinous.
If your buds are stinking up the yard in the best way possible, it’s probably time.
Tools and Supplies for Harvesting
Before you even think about snipping branches, get your harvest setup ready. Trust us—it’s easier to prepare now than to panic with sticky fingers later.
You’ll need:
- Clean pruning shears or scissors (multiple pairs is ideal)
- Disposable gloves
- A drying space with temperature control (18–22°C is ideal)
- A dark, well-ventilated area with 50–60% humidity
- Hanging racks, strings, or mesh drying nets
- Trimming tray or surface
- Glass jars for curing
You don’t need a fancy setup, but you do need a clean and controlled environment. That’s what preserves all the potency, terpenes, and aroma you’ve worked hard to develop.
How to Harvest Your Cannabis Plants Step by Step
Step 1: Cut with Care
Choose early morning or just before dusk to avoid harvesting during peak heat. Use sharp, sterilised scissors to cut branches one at a time or chop the whole plant at the base.
Step 2: Trim (Wet or Dry?)
There’s no single best method—just pros and cons.
- Wet trim (trimming immediately after cutting) is faster, reduces drying humidity, and shows off bud structure.
- Dry trim (trimming after drying) preserves terpenes better but takes longer and needs more drying space.
Autos like Black Orchid Auto and Purple Haze Auto often benefit from wet trimming, especially outdoors where humidity can rise unexpectedly.
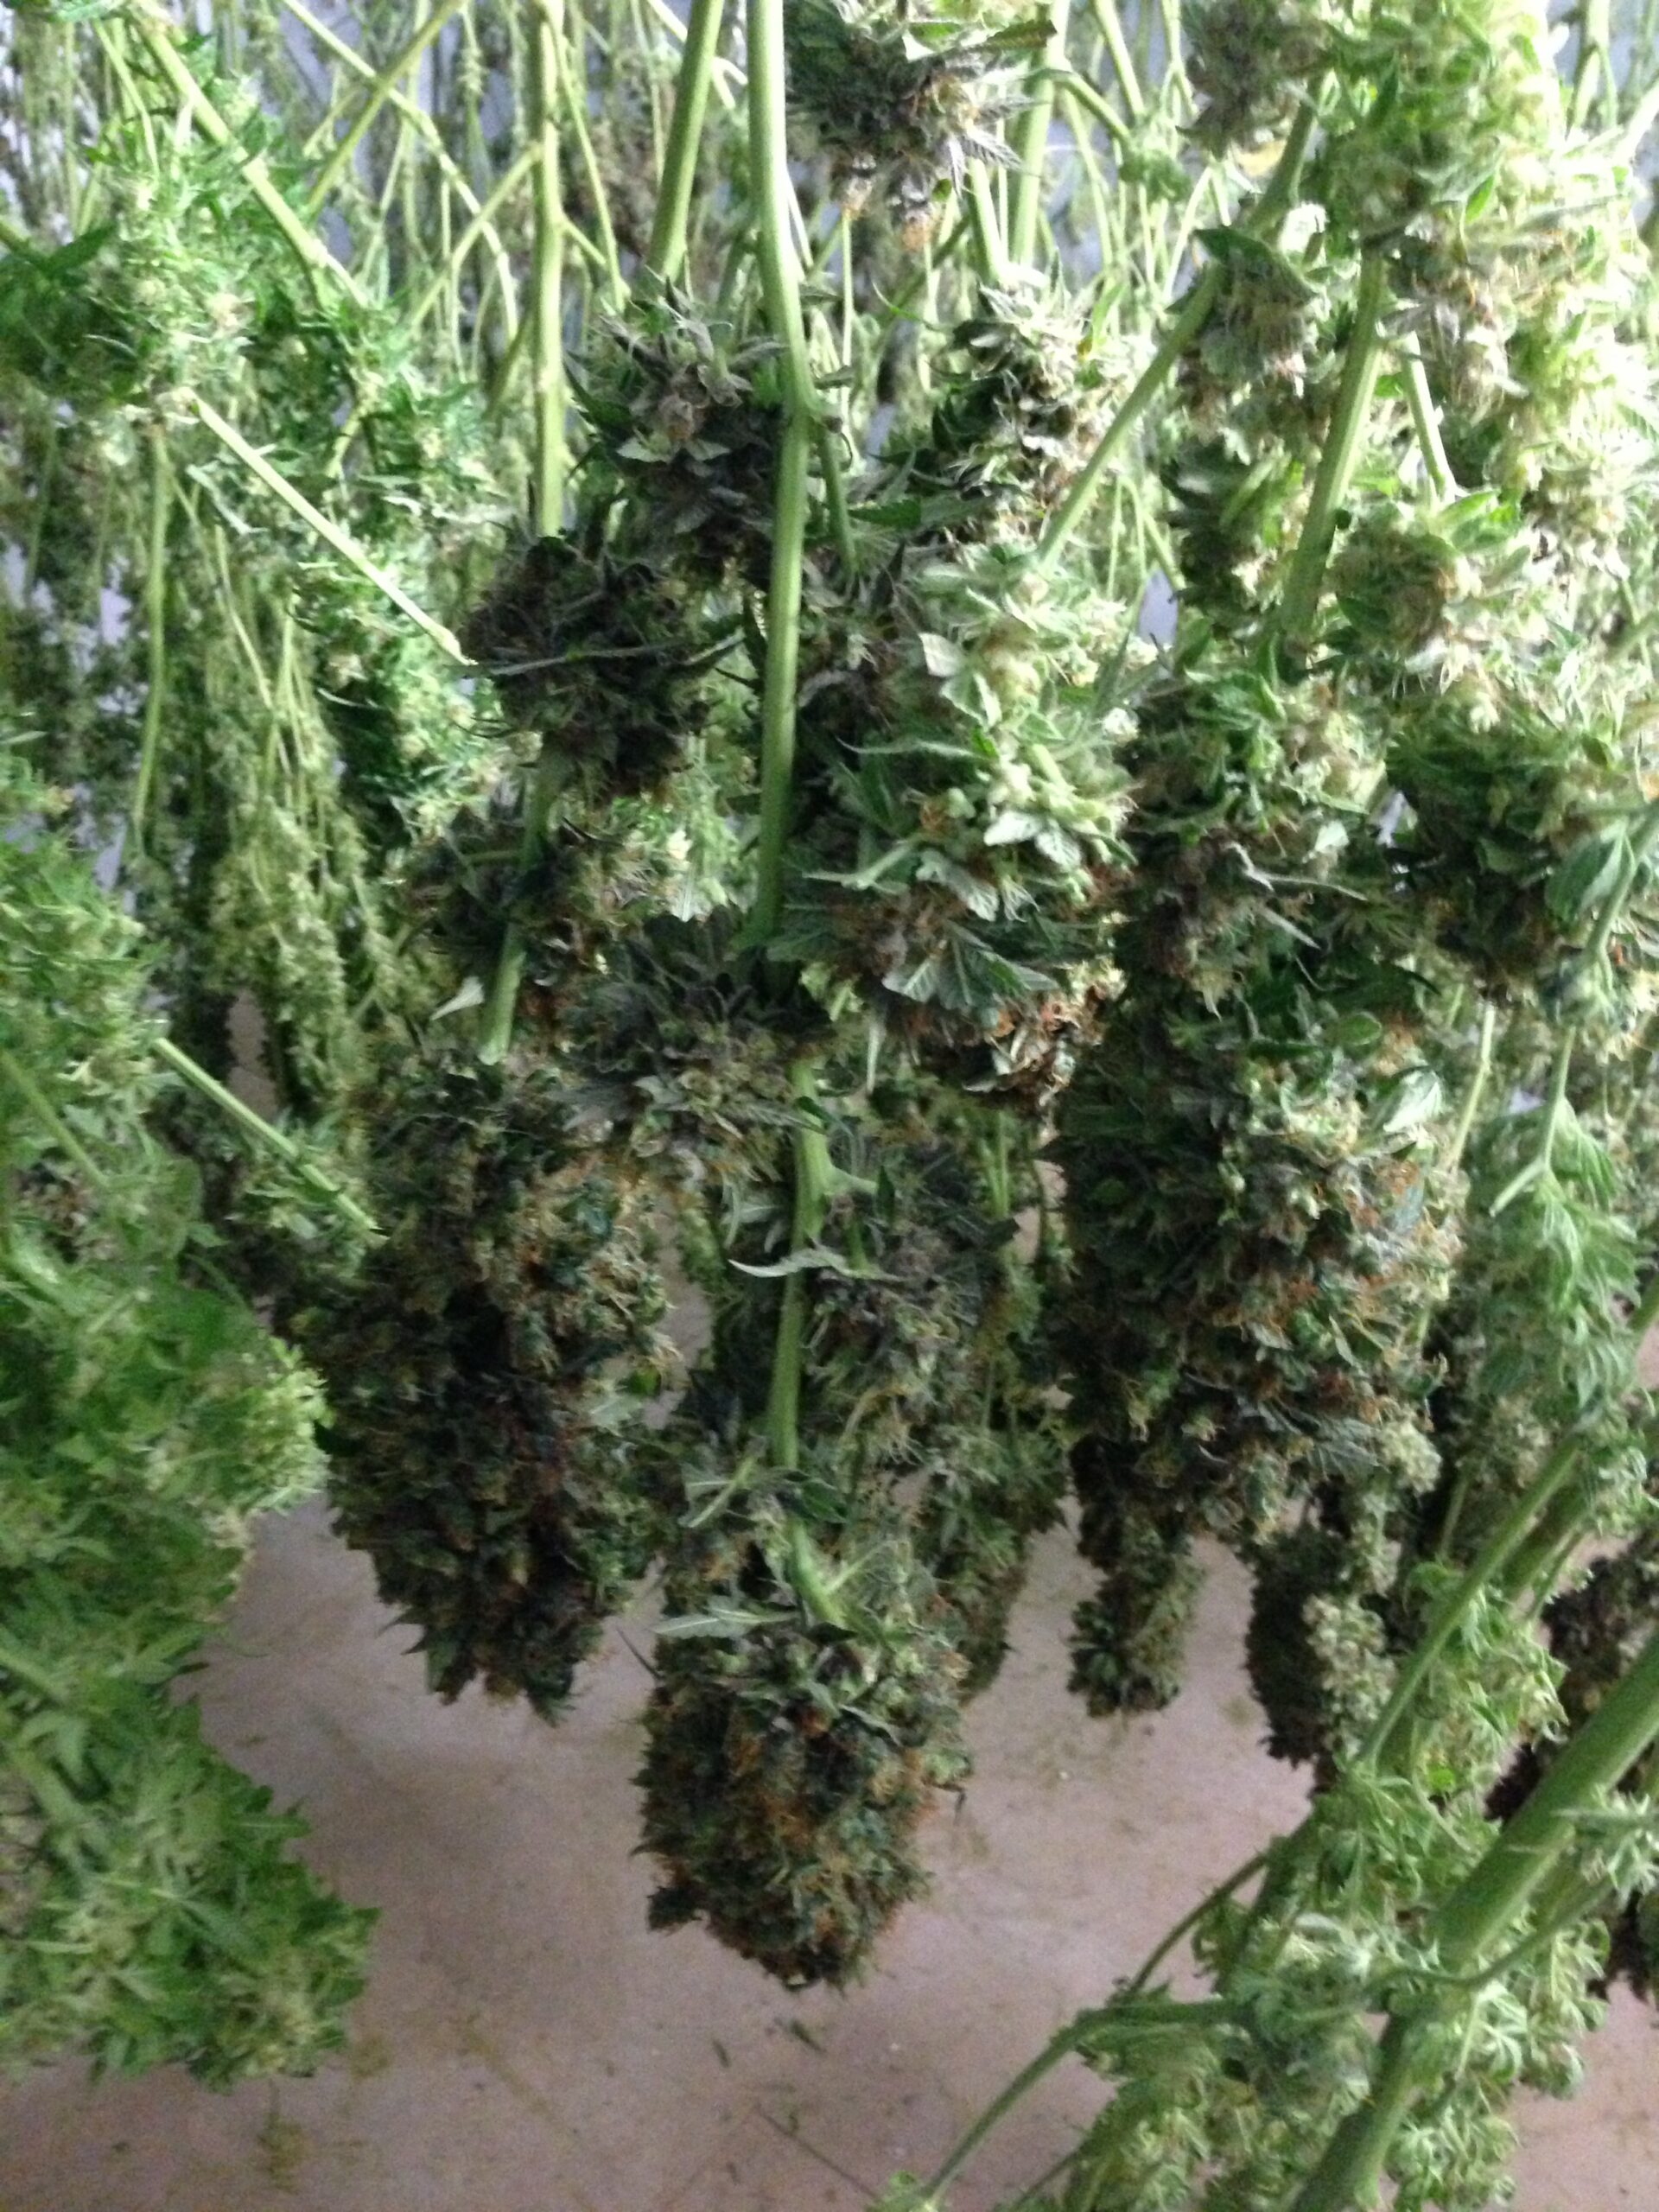
Step 3: Dry Your Buds
Hang your branches upside down or place buds on mesh drying racks in a dark room with circulating air.
Monitor closely:
- If it’s too dry, buds can crisp up and lose flavor.
- If it’s too wet or stagnant, mold and mildew can set in fast.
Drying typically takes 7–14 days, depending on conditions.
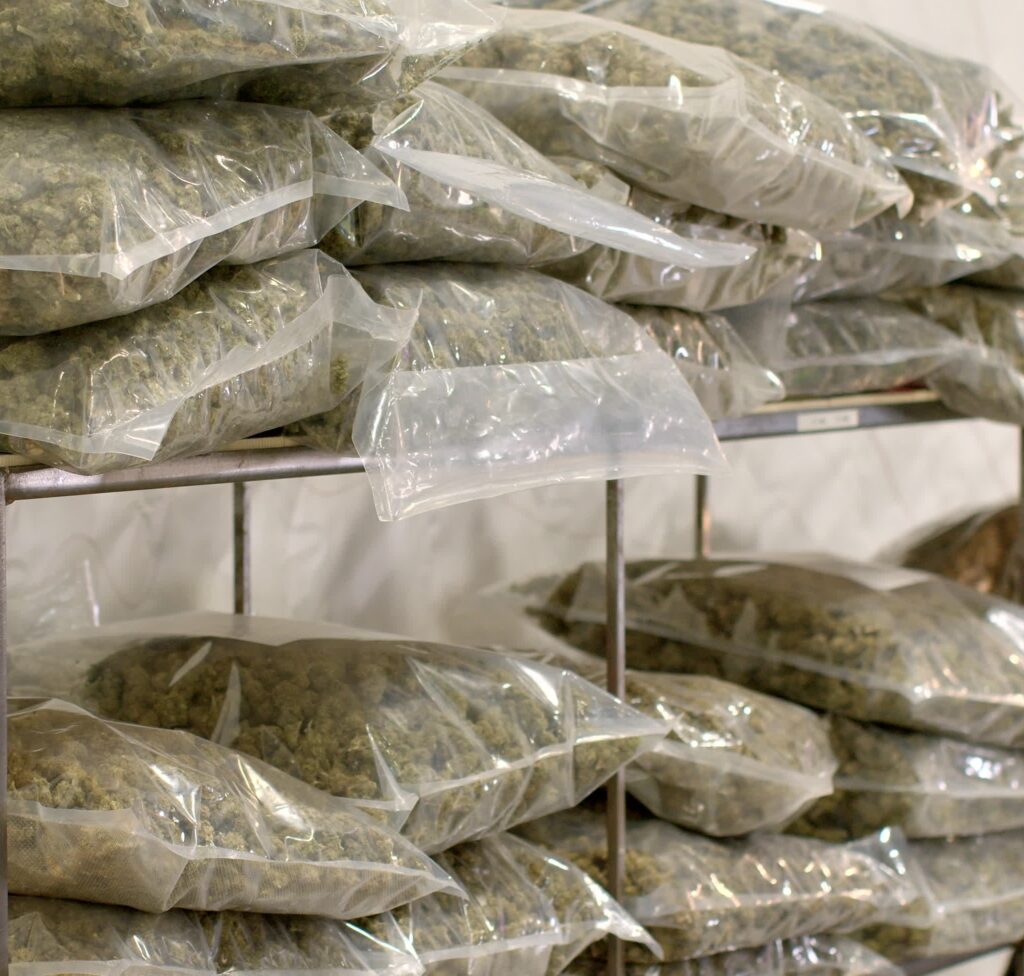
Step 4: Cure for Quality
Once the stems snap and buds feel dry outside (but slightly spongy inside), it’s time to cure.
- Place buds in glass jars (not plastic) loosely filled.
- Store in a cool, dark place and open jars daily for the first 10 days to let out moisture.
- After two weeks, burp every few days for another week or two.
The longer you cure, the better the smoothness, flavour, and burn. Four to six weeks is ideal.
What About Harvesting Feminised Strains in June?
Usually, June is too early for most feminised photoperiod plants to finish outdoors—unless you’re growing under light deprivation techniques or using a greenhouse setup to simulate shorter days.
That said, some fast-flowering strains like Alien Moonrocks Fem may show early signs of maturity if planted early and grown under optimal conditions.
Bruce Banner #3 Fem, being a heavy-yielding monster, typically requires a full summer to reach its potential. If you’re growing it, now’s the time to train, defoliate, and prep—not harvest. But if you started indoors and moved it outside, keep an eye on the trichomes. You never know.
Strain Highlights for a Successful June Harvest
This beauty is a June superstar—finishing fast with dense, dark buds and a knockout body effect. Ideal for early harvests and perfect for growers who want a visually stunning, no-fuss auto.
Classic sativa energy in a fast-flowering format. Expect cerebral highs and uplifting vibes. Its resilient structure and early finishing make it a smart choice for summer harvest planning.
While not usually ready in June, this strain deserves a mention for early-flowering potential under greenhouse conditions. It’s sticky, loud, and packs a punch. If yours is showing signs of ripeness, don’t hesitate.
Probably not ready yet—but worth prepping for. This plant gets massive, so start thinning out lower growth and planning for late summer support structures.
What to Do After a June Harvest
Don’t just sit back and admire your stash—June harvesting gives you a head start.
If you’re working with autos and harvested in late June, you’ve got:
- Time for a second crop, using the same containers or beds.
- Weather warm enough to push another auto to maturity before late September.
- The chance to try a different strain, especially if you want to compare flavours, yields, or effects.
Some growers even run staggered harvests, planting autos every two weeks throughout spring and early summer for continuous cropping.
Bonus Tips for Outdoor Harvest Success
- Avoid rain near harvest time if possible—moisture can trigger mold.
- Use gloves during trimming to avoid sticky hands and contaminating buds.
- Save your trim—you can use it for edibles, oils, or hash.
- Take notes—strain performance, environment, drying times. This is gold for next season.
Ready for Round Two?
If you’ve harvested in June, you’re not done—you’re just getting warmed up. The beauty of working with autos is that they fit into your outdoor schedule like clockwork. Fast in, fast out, and room for more.
Want strains that work for round two?
- Black Orchid Auto – Fast, fierce, and fruity.
- Purple Haze Auto – Classic sativa effect in a summer-friendly format.
- Alien Moonrocks Fem – Perfect for starting now and finishing strong in September.
- Bruce Banner #3 Fem – Start now and harvest late-season for maximum yields.
You can find them all at Original Sensible Seeds—along with updated grow guides, new strain drops, and helpful tips from the community.
Final Word
Harvesting cannabis in June might not be traditional, but it’s smart—and it’s becoming more popular each season. Whether you’re pulling down your first round of autos or experimenting with early feminised finishes, the key is to harvest at the right time, with the right care.
Get that drying room dialled in. Take your time with the cure. And when you’re ready, load up for another run.
After all, the season’s still young—and the jars aren’t full yet.
